The admin portal helps the Clerk / Director / Admin to manage the application. There are setting and parameters for all aspects of payment (standalone, integrated) and other features (document submission, lobby, docket management.
Portal Settings
Settings page:
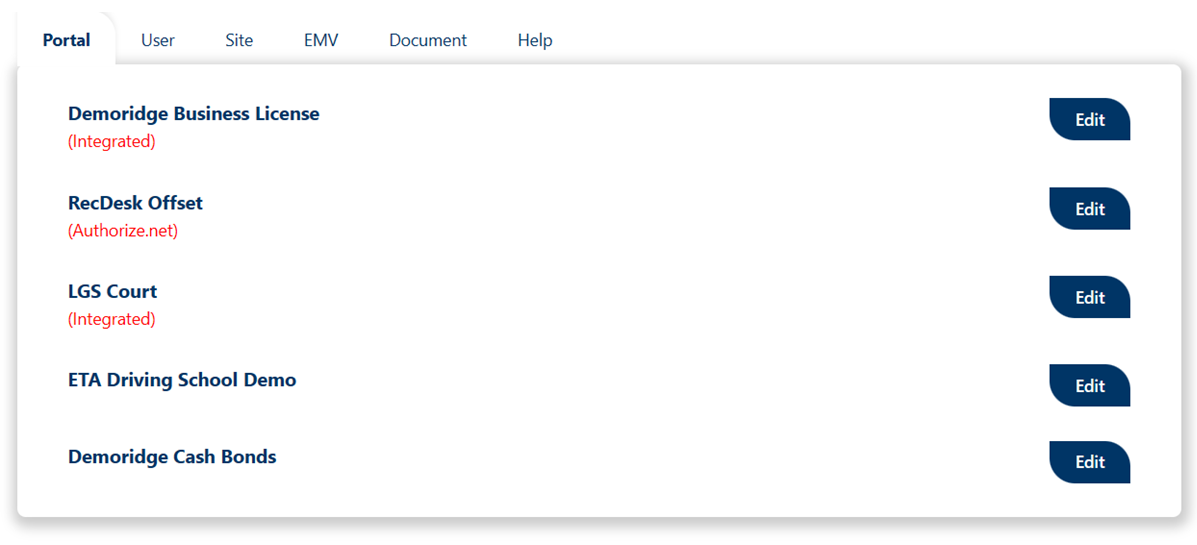
1. Portal
This tab lists all the portals available on the site. You click on edit to edit each portal
Let’s edit a specific portal, let’s say Standalone Portal
This section has:
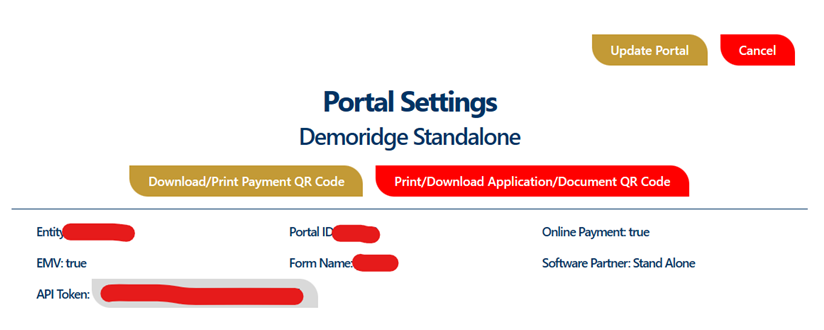
- General Settings
Download / Print Payment QR Code
Print/Download Application/Document QR Code
This generate a QR code for standalone page ready for payment
This generate a QR code for the document form attached to this portal
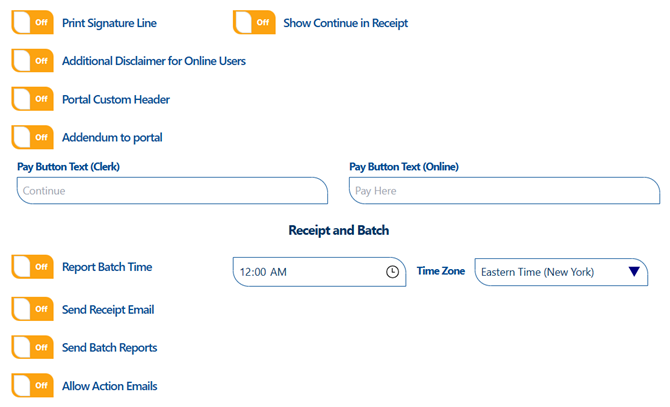
- Receipt settings
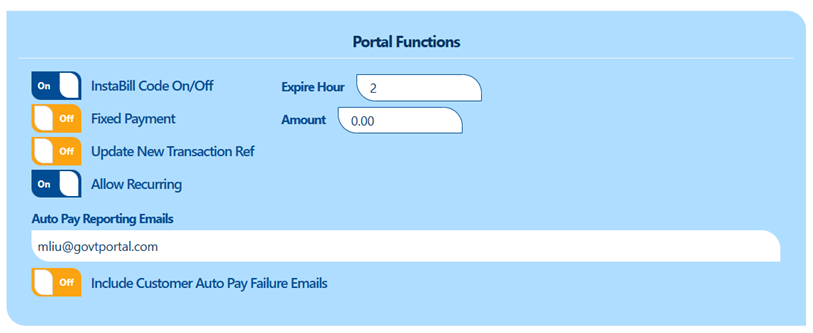
- Portal Function settings
This is where you enable or disable instabill. Set Fixed Payment, Allow Recurring schedule on the portal.
Fixed Payment: when this is active, the citizens pay a flat rate per transaction
Allow Recurring: the clerk will be able to save recurring payment for customers who request for that feature
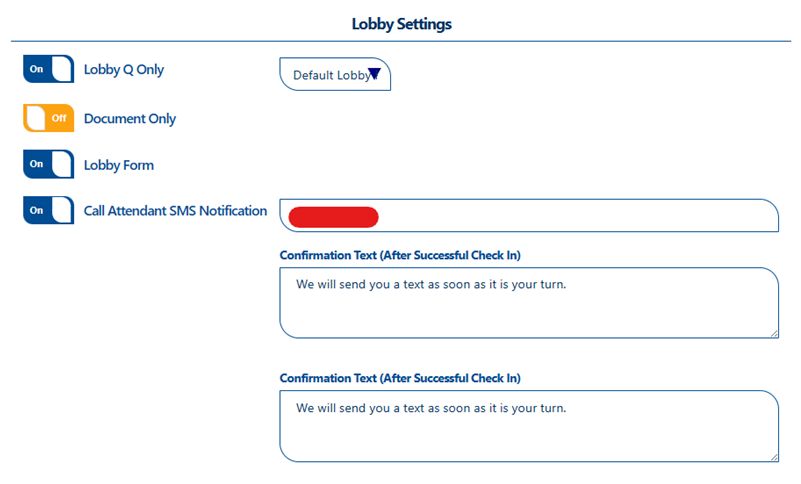
- Lobby Settings
Enable and disable Lobby, lobby form here.
Call Attendant SMS Notification: this sends an automatic message to the citizen when he/she checks in
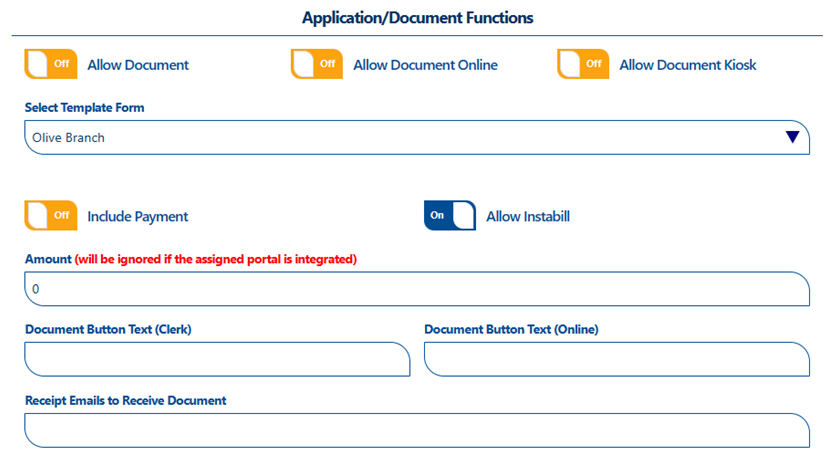
- Application/Documents function settings
Allow and Disallow document submission on a specific portal.
Allow Document on Kiosk Mode: citizens will be able to fill a document and eSwears on the kiosk Device
Select Template assigns the form template to the portal, we will cover how to create Form Templates under documents tab.
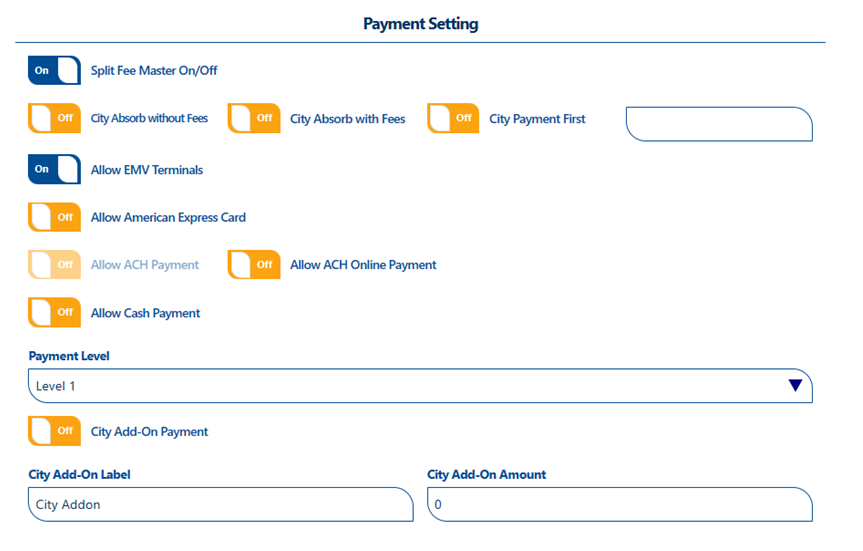
- Payment setting
- Kiosk Mode settings
2. User
This Tab lists all the Clerks and Directors in that entity (the partner or a specific county)
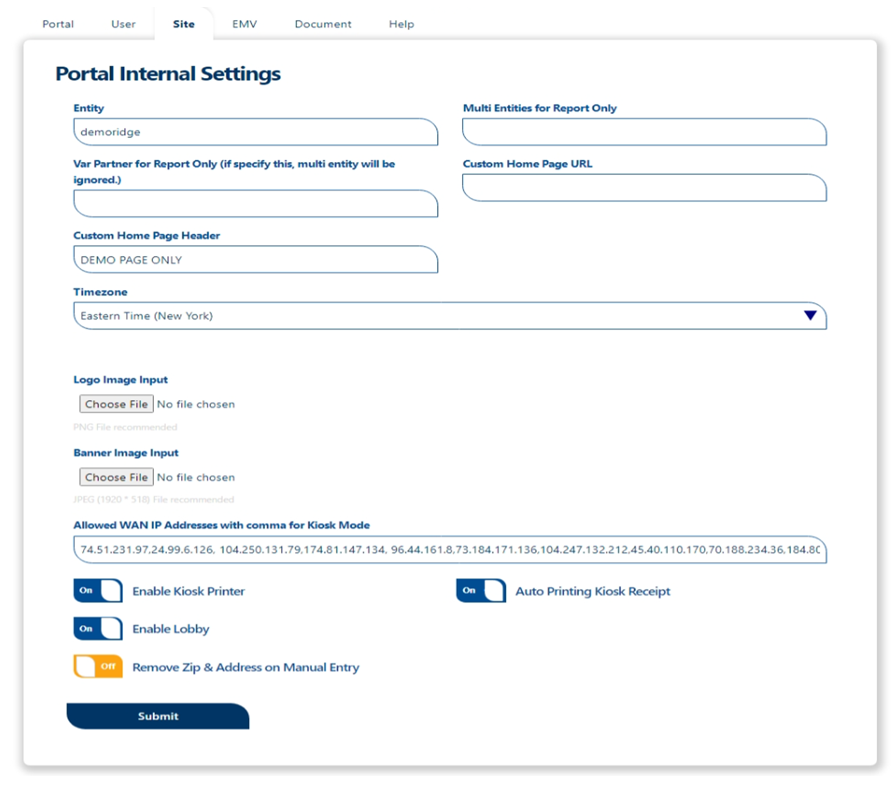
3. Site
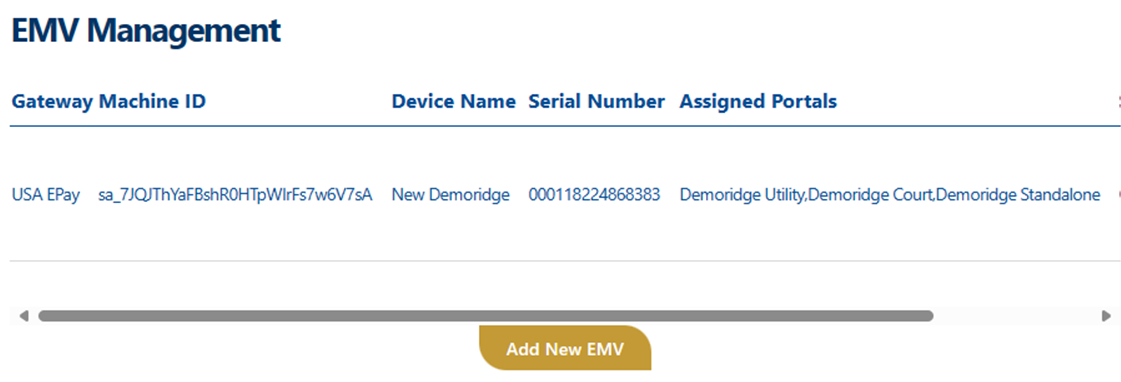
4. EMV
Add EMV Machine
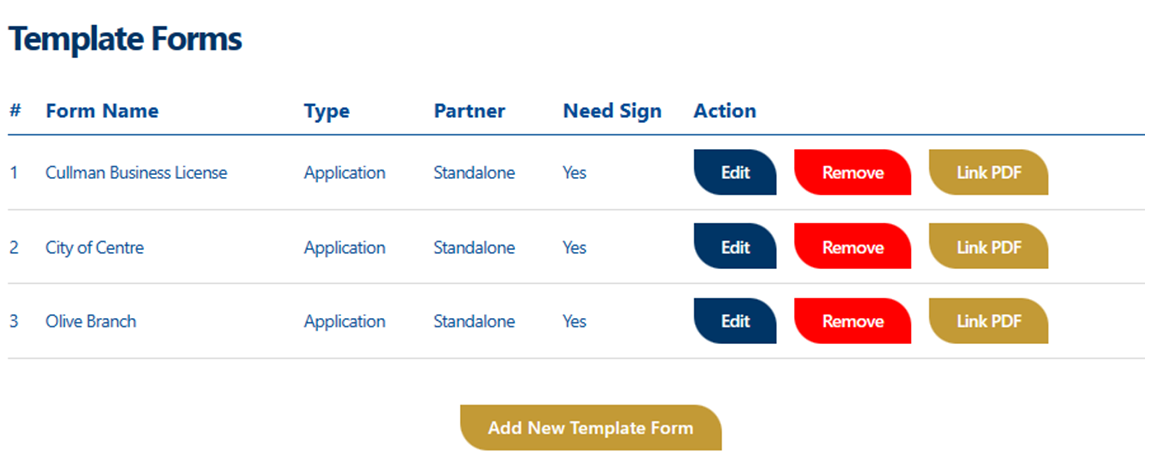
5. Document
List of Template forms
Template forms are the document forms that citizens fill.
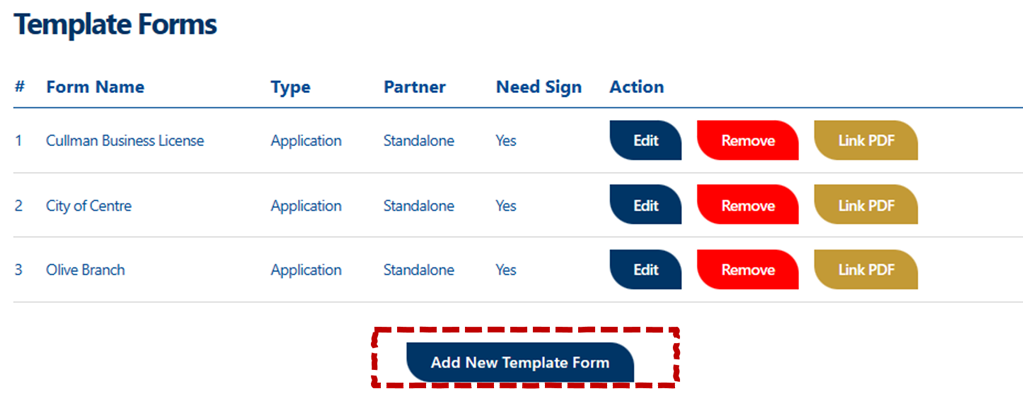
Let’s create a document
Click on Add New Template Form
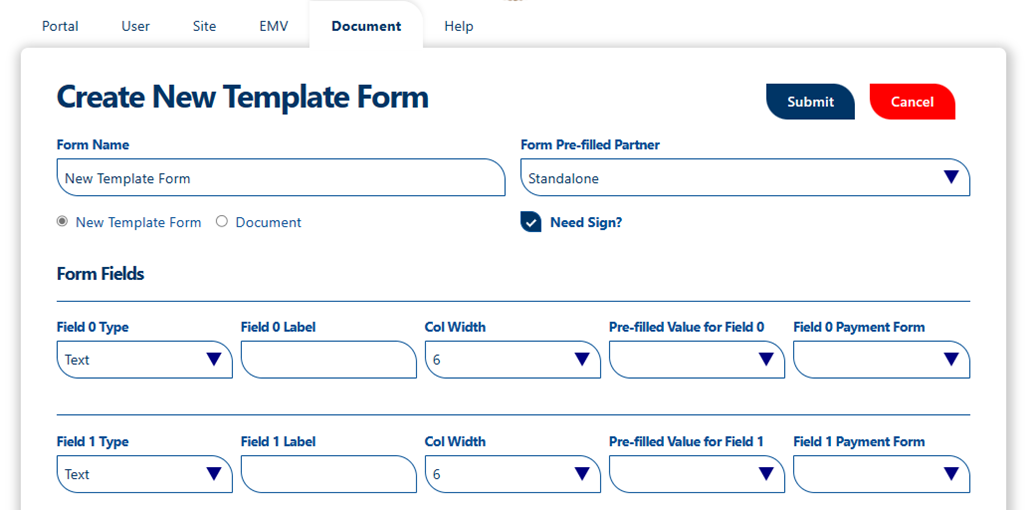
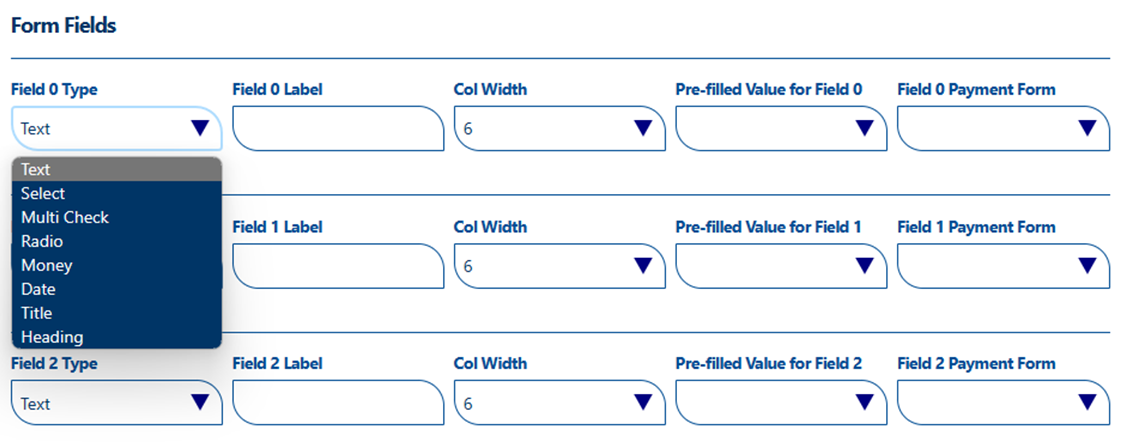
Create New Template Form Page Fill the form Name Select the partner
Fill the form Fields Type are: text, Select, Multi check, Radio, Money, Date, Title, heading Field Label: the name of the field and at the same time the label.
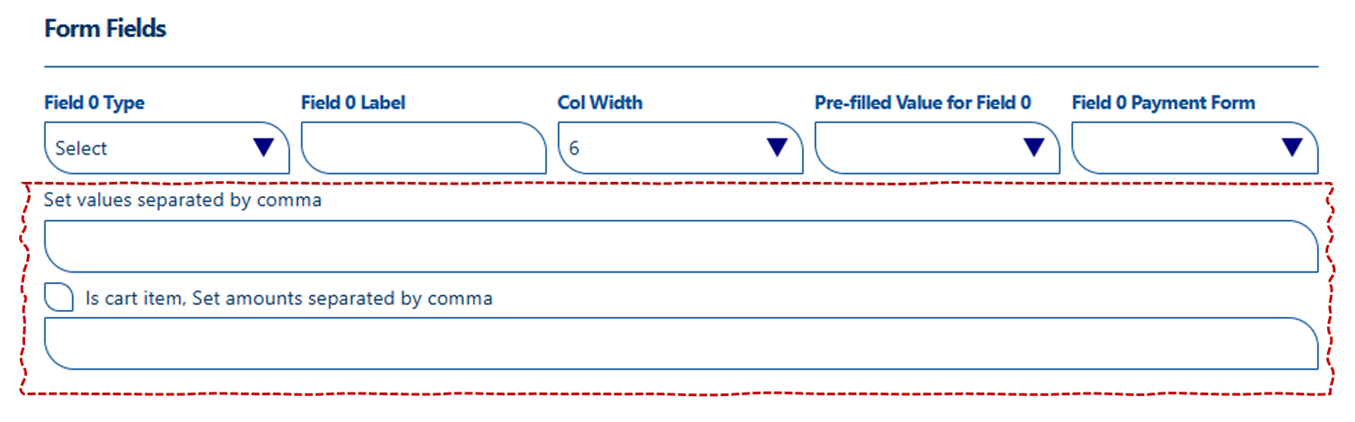
It is important to note that field types like Select, Multi check and Radio will have multiple choice option
You will have to input the Optional Values in the field as shown below and separate the values by a comma.