GovtPortal Clerk / Director / Admin Documentation
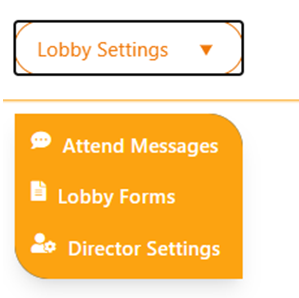
The admin portal helps the Clerk / Director / Admin to manage the application. There are setting and parameters for all aspects of payment (standalone, integrated) and other features (document submission, lobby, docket management.
Interface Difference
1. Application
The clerk uses this button to start submitting a document
2. Continue
This button is the default action on the portal. It varies based on the function of the portal. For a standalone portal for instance, it presents the form to fill before making a payment, for an integrated portal, it presents you with the form to search for your record from our system
3. Stand Alone Recurring Maintenance List
This button will show you a page where you can find the list of customers who saved their details for a scheduled payment
4. Reports
Use this button to get to the report page
5. Deposit Report
6. Insta Report
The report for all instabill generated on the specific portal
7. Auto Pay
The list of recurring payment customer for integrated portals.
Stand Alone Payment
Recurring Payment
On GovtPortal, recurring payment feature allows the clerk to save a payment schedule for a citizen.
- Interval : the time interval between the payment
- Frequency: indicates the number of times during the set time interval
- Occurrence: ????
- Amount: the amount to be paid
- Customer name: the name of the customer
- Customer email: the email of the customer
Integrated
The following interface allows the clerk to look for the citizen, if the search is successful, the details of the citizen will be pulled up for verification before proceeding to payment.
This interface is not the same for all integrated portals. The Court portal was used in this example and the citizen data can be searched by the last name of ticket number. Other integrated portals come with a customized form that the partner we integrated with demanded.
Reports
GovtPortal offers a comprehensive report. The user has the ability to filter the report with various options presented to them.
You can export the report, print or send via mail
The report table below (containing demo payment data only)
Use the MORE button to obtain details about the transaction and perform other function on it: e.g. Refund or Void transaction.
This is how looks like when you use the MORE button is
Documents and Swears Reports
Document report page lists the documents submission over a specific period of time
Lobby Management
Lobby management is simpler and convenient on GP.
The dashboard of lobby management section
In the previous image, there is a citizen in the court lobby. We will cover how the citizen use the lobby in the KIOSK MODE of this documentation.
To take actions, a clerk should use the LIVE Q button.
Live Q
In the lobby, the citizen is waiting to be served by the clerk or any other person in the capacity to do so.
The clerk can perform 3 actions at this point.
- Send SMS
This is used to communicate with the citizen. In most cases, the clerk alert the citizen that it is his turn to come to the counter - Attend to
This button is used when the citizen appear at the counter and is being served - Close
Close the lobby ticket
When the citizen is being attended to, the list of lobby entry is found under ASSIGNED QUEUES
Under this section, the clerk still has the ability to roll back the ticket, in which case the citizen will be back to the queue.
Close and SMS button still maintain their above mentioned function
When a ticket is closed:
Lobby Settings
In the navigation bar, you can access the Lobby settings
- Attend Messages
Preset the SMS content that should be sent to the citizen in the lobby.
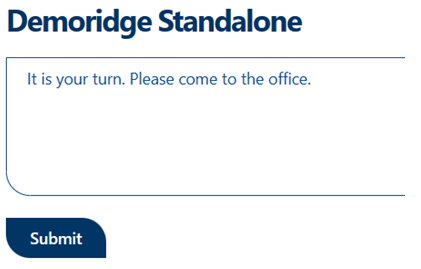
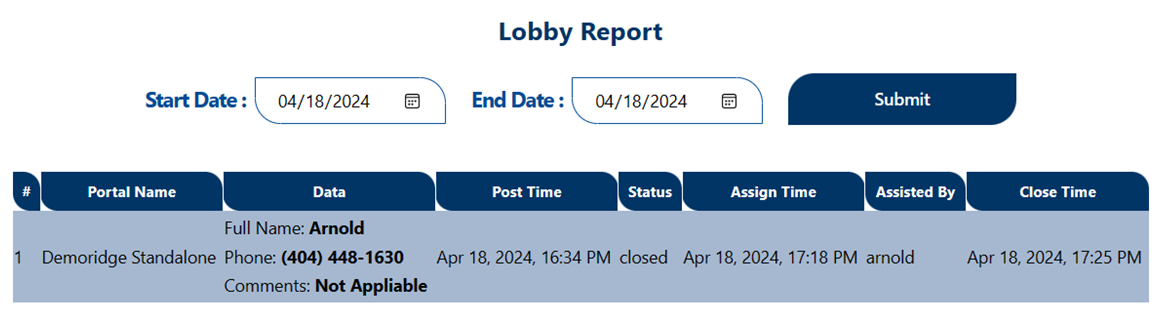
 - Lobby Forms
You will see here the list of preset lobby form that citizen will fill.
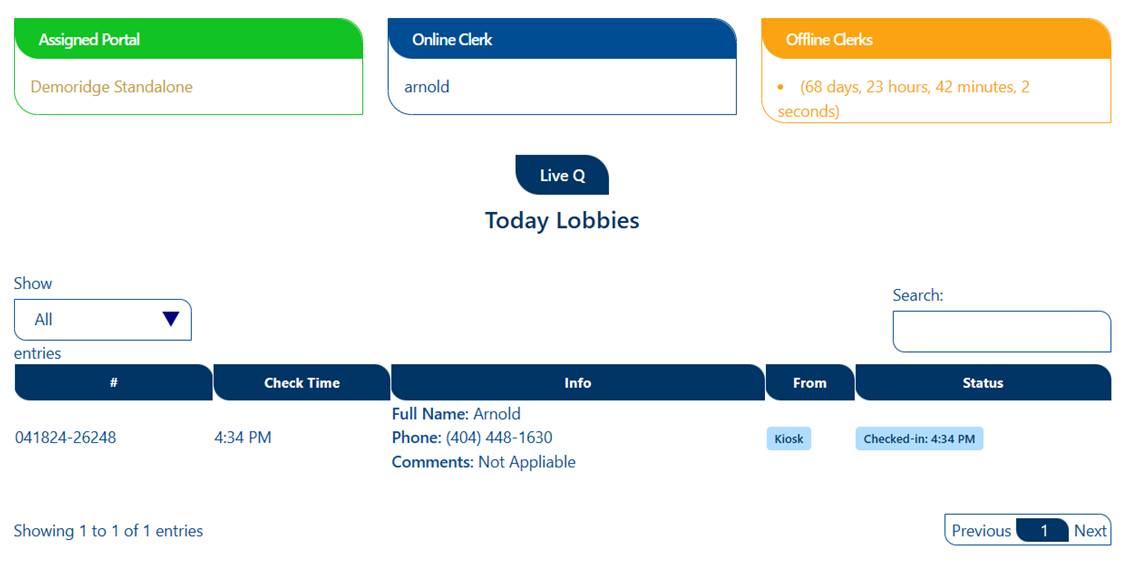
Each portal is assigned to a specific form that the citizen will see and fill on the Kiosk device
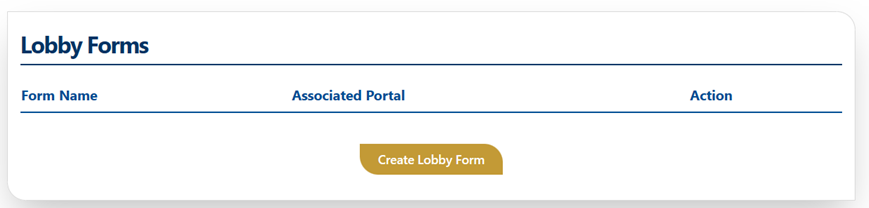
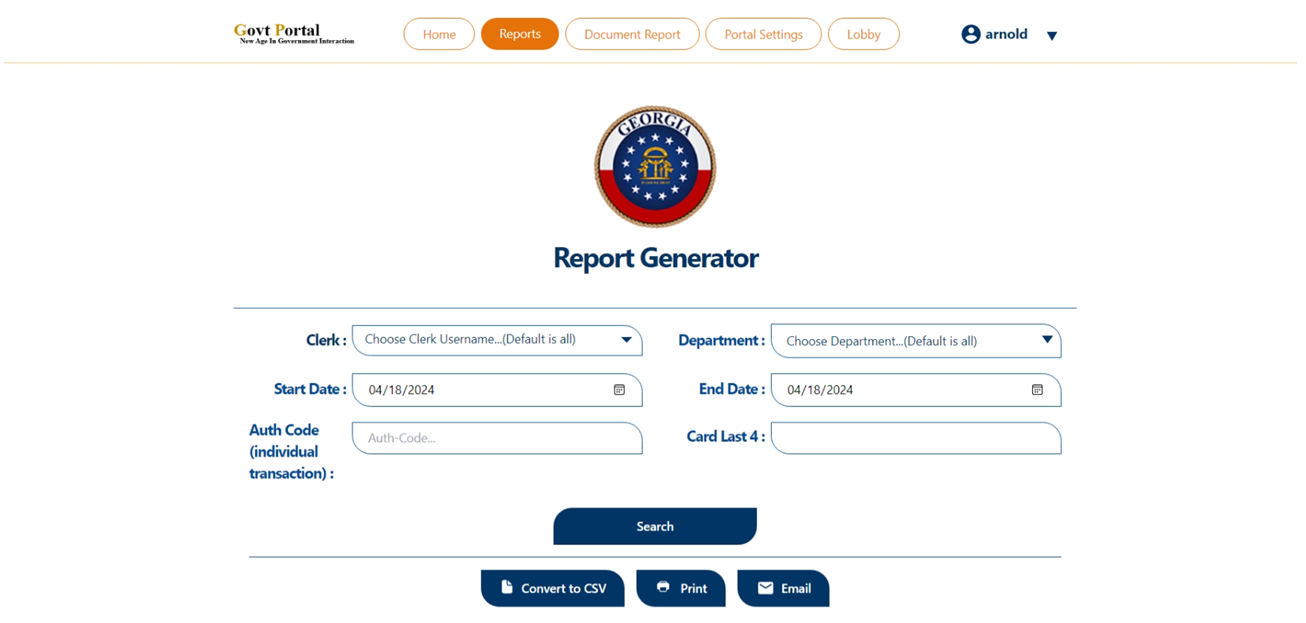
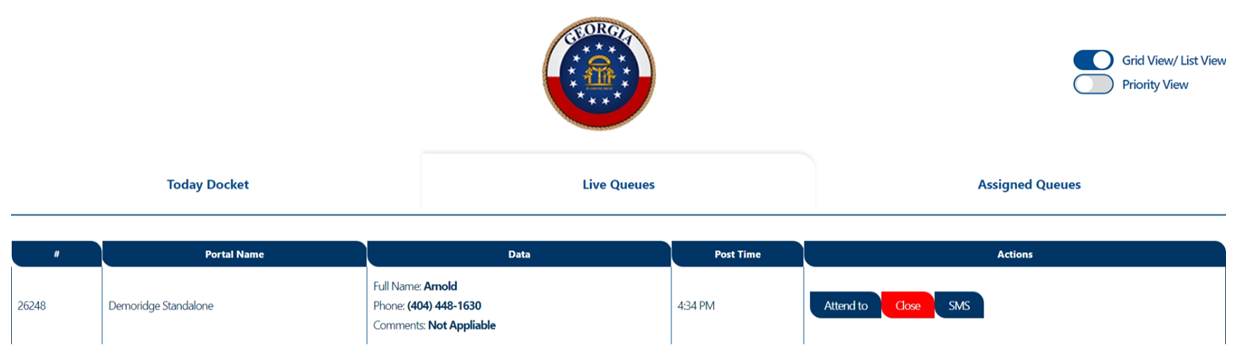
 - Director Settings
Director setting is the portal settings.
Lobby Report
There is a daily report for lobby management